Upgrading PixlStash to version
Choose the box that matches how you installed PixlStash and follow the steps to get the latest version.
Explore what changed before you upgrade
Try the new justified grid layout, background imports, Scrapheap delete and auto-empty, the Agreement chart.
Open the What's New page →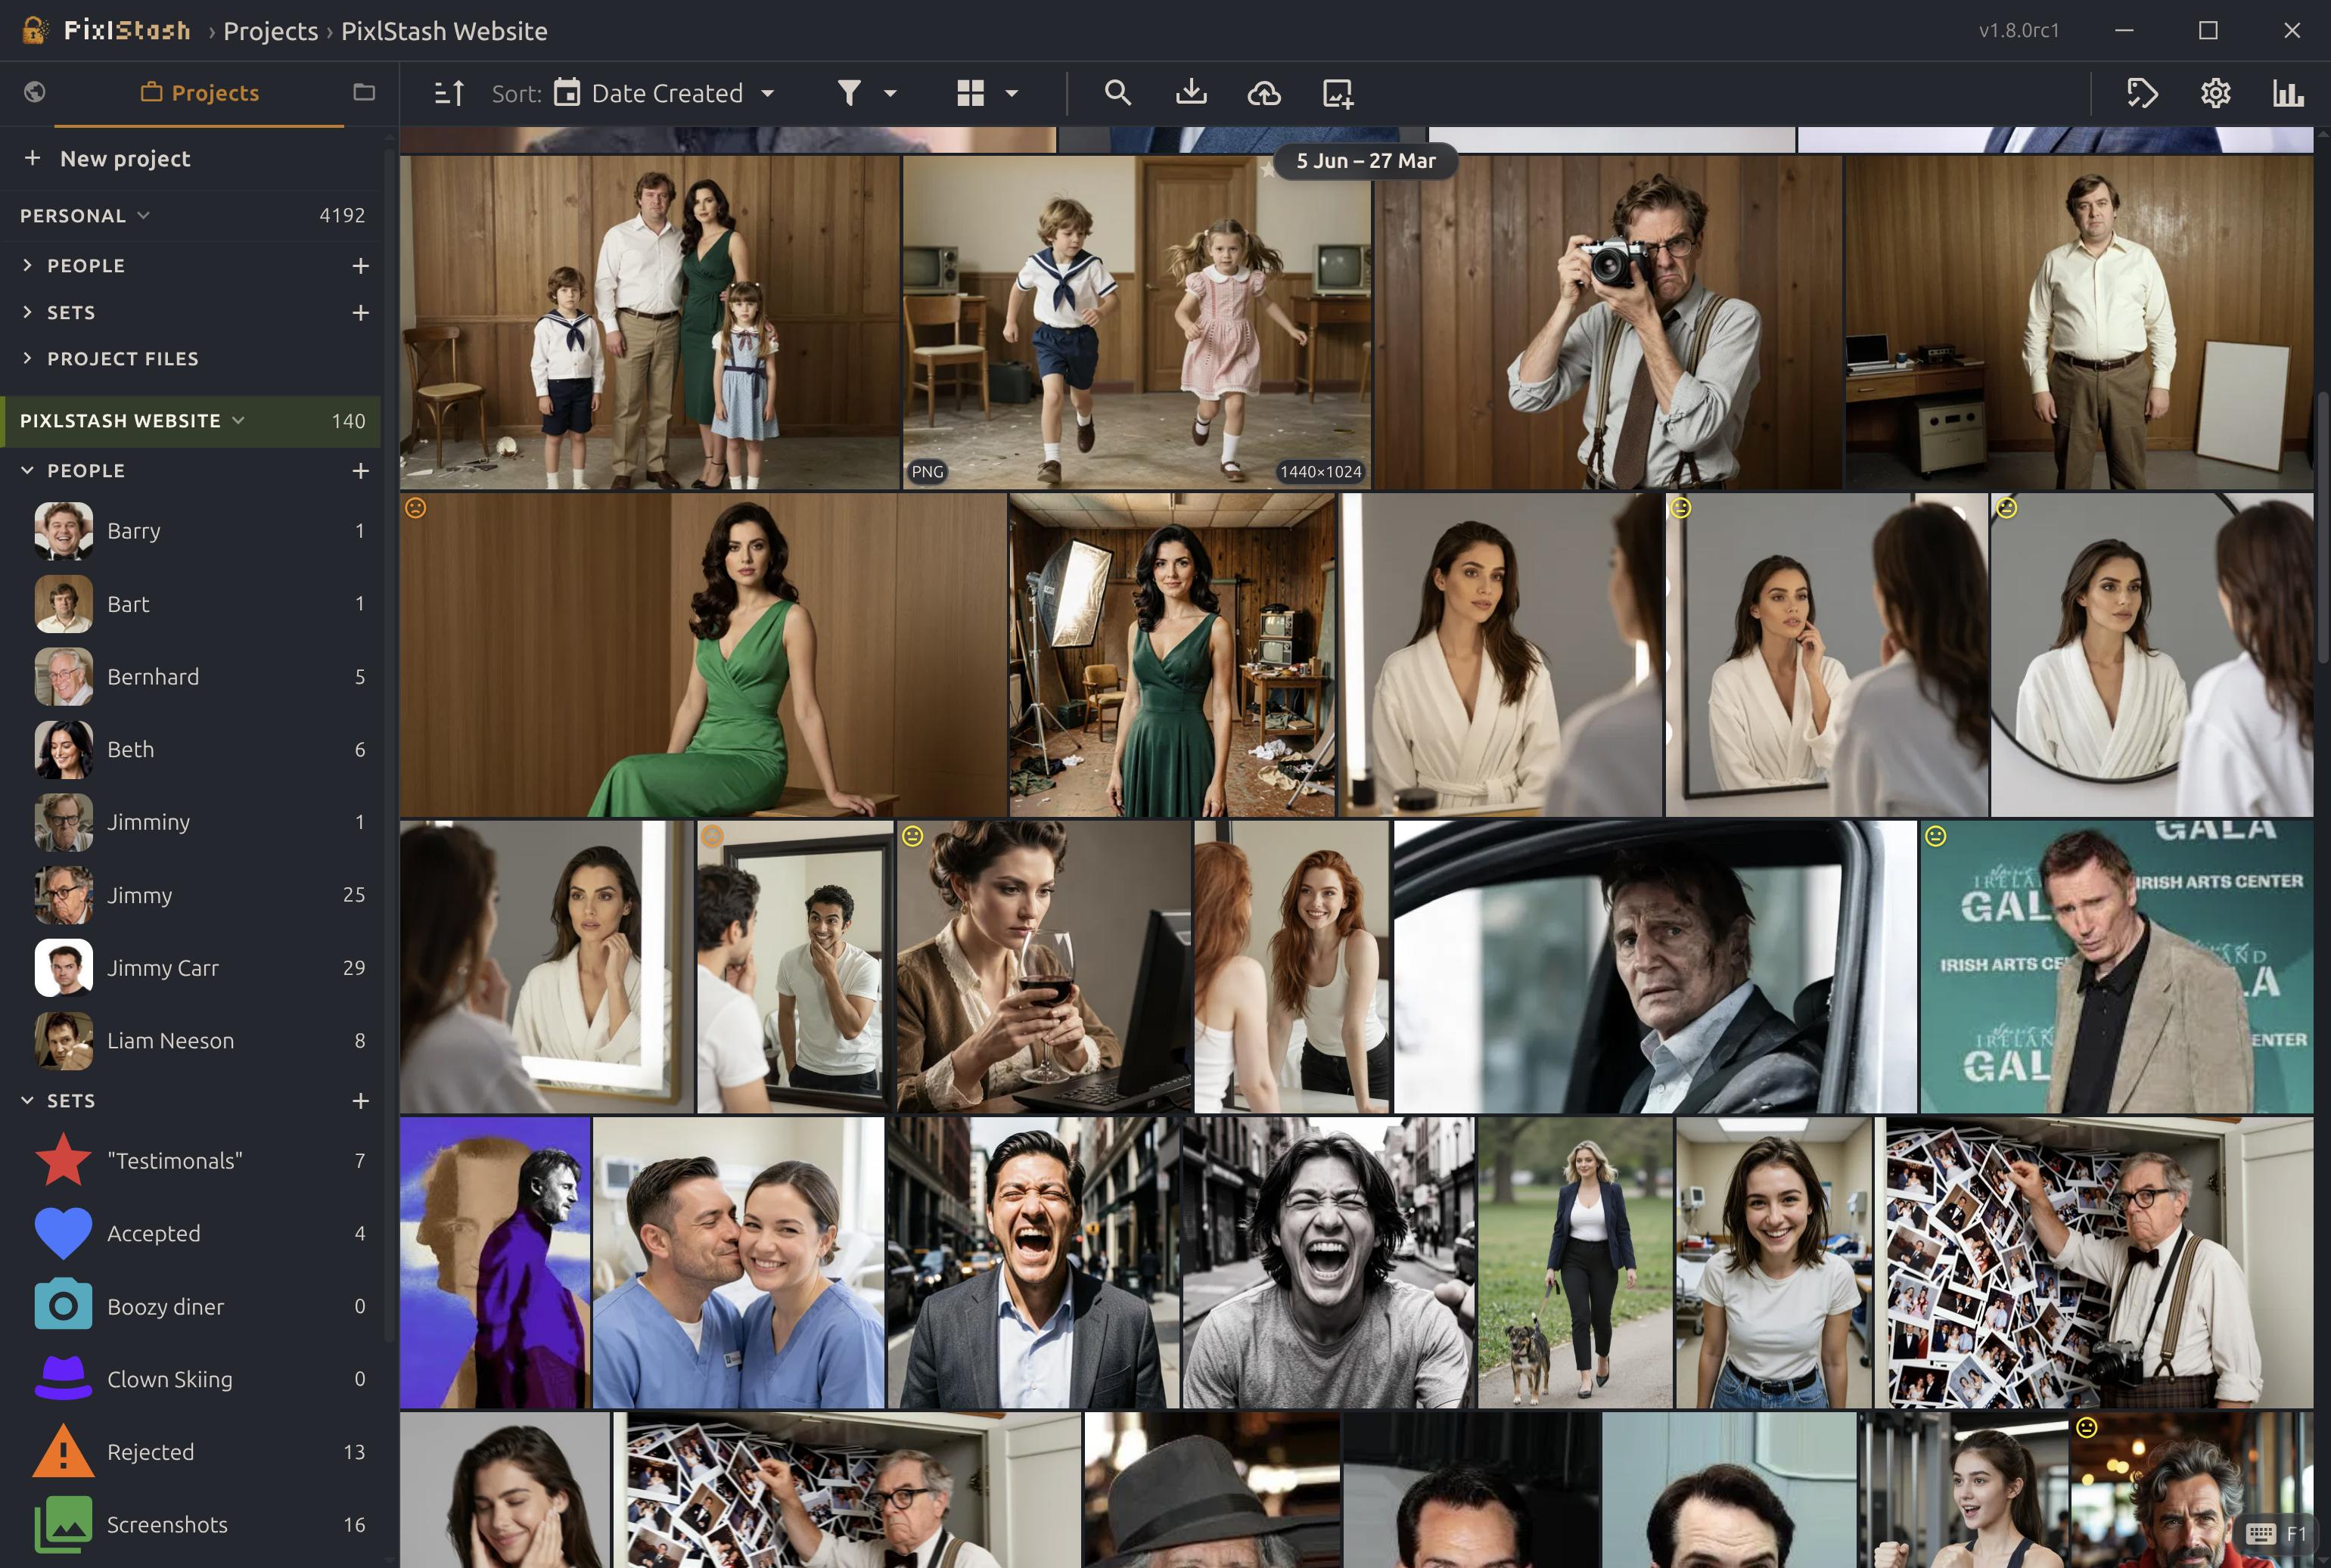
pip install
Python virtual environment / PyPI
.venv/bin/activate
.venv\Scripts\activate
pip install --upgrade pixlstash
Stop the running server and start it again with
pixlstash-server (or however you normally launch
it). The new version is active immediately.
Windows installer
Simple installer / .exe bundle
Go to the
latest release on GitHub
and download the Windows .exe installer.
Close the PixlStash server window or stop the background service before running the installer.
Double-click the downloaded installer and follow the prompts. It will replace the existing installation in-place. Your image library and settings are preserved.
Docker
docker-compose or standalone container
CPU
docker pull ghcr.io/pikselkroken/pixlstash:latest
GPU
docker pull ghcr.io/pikselkroken/pixlstash:latest-gpu
docker stop pixlstash && docker rm pixlstash
Then re-run your original docker run command. See
the install guide for
CPU or
GPU inference.
From source
git clone / editable install
cd pixlstash git pull
pip install -e .
cd frontend && npm ci && npm run build
Stop and restart pixlstash-server (or
python -m pixlstash.app) to load the new code.